


The Course
Nestled in the heart of Eastern Carolina, Carolina Colours Golf Club stands as a hidden gem amidst the towering pines and rolling hills of the region. Conceived by visionary developer Ken Kirkman and opened in 2010 to rave reviews, the course has quickly become a sought-after destination for golf enthusiasts of all stripes. Its design is the work of Bill Love, a renowned course architect who crafted 18 unique holes that combine both fun and challenge, creating a layout that appeals to players with varying skills and experience.
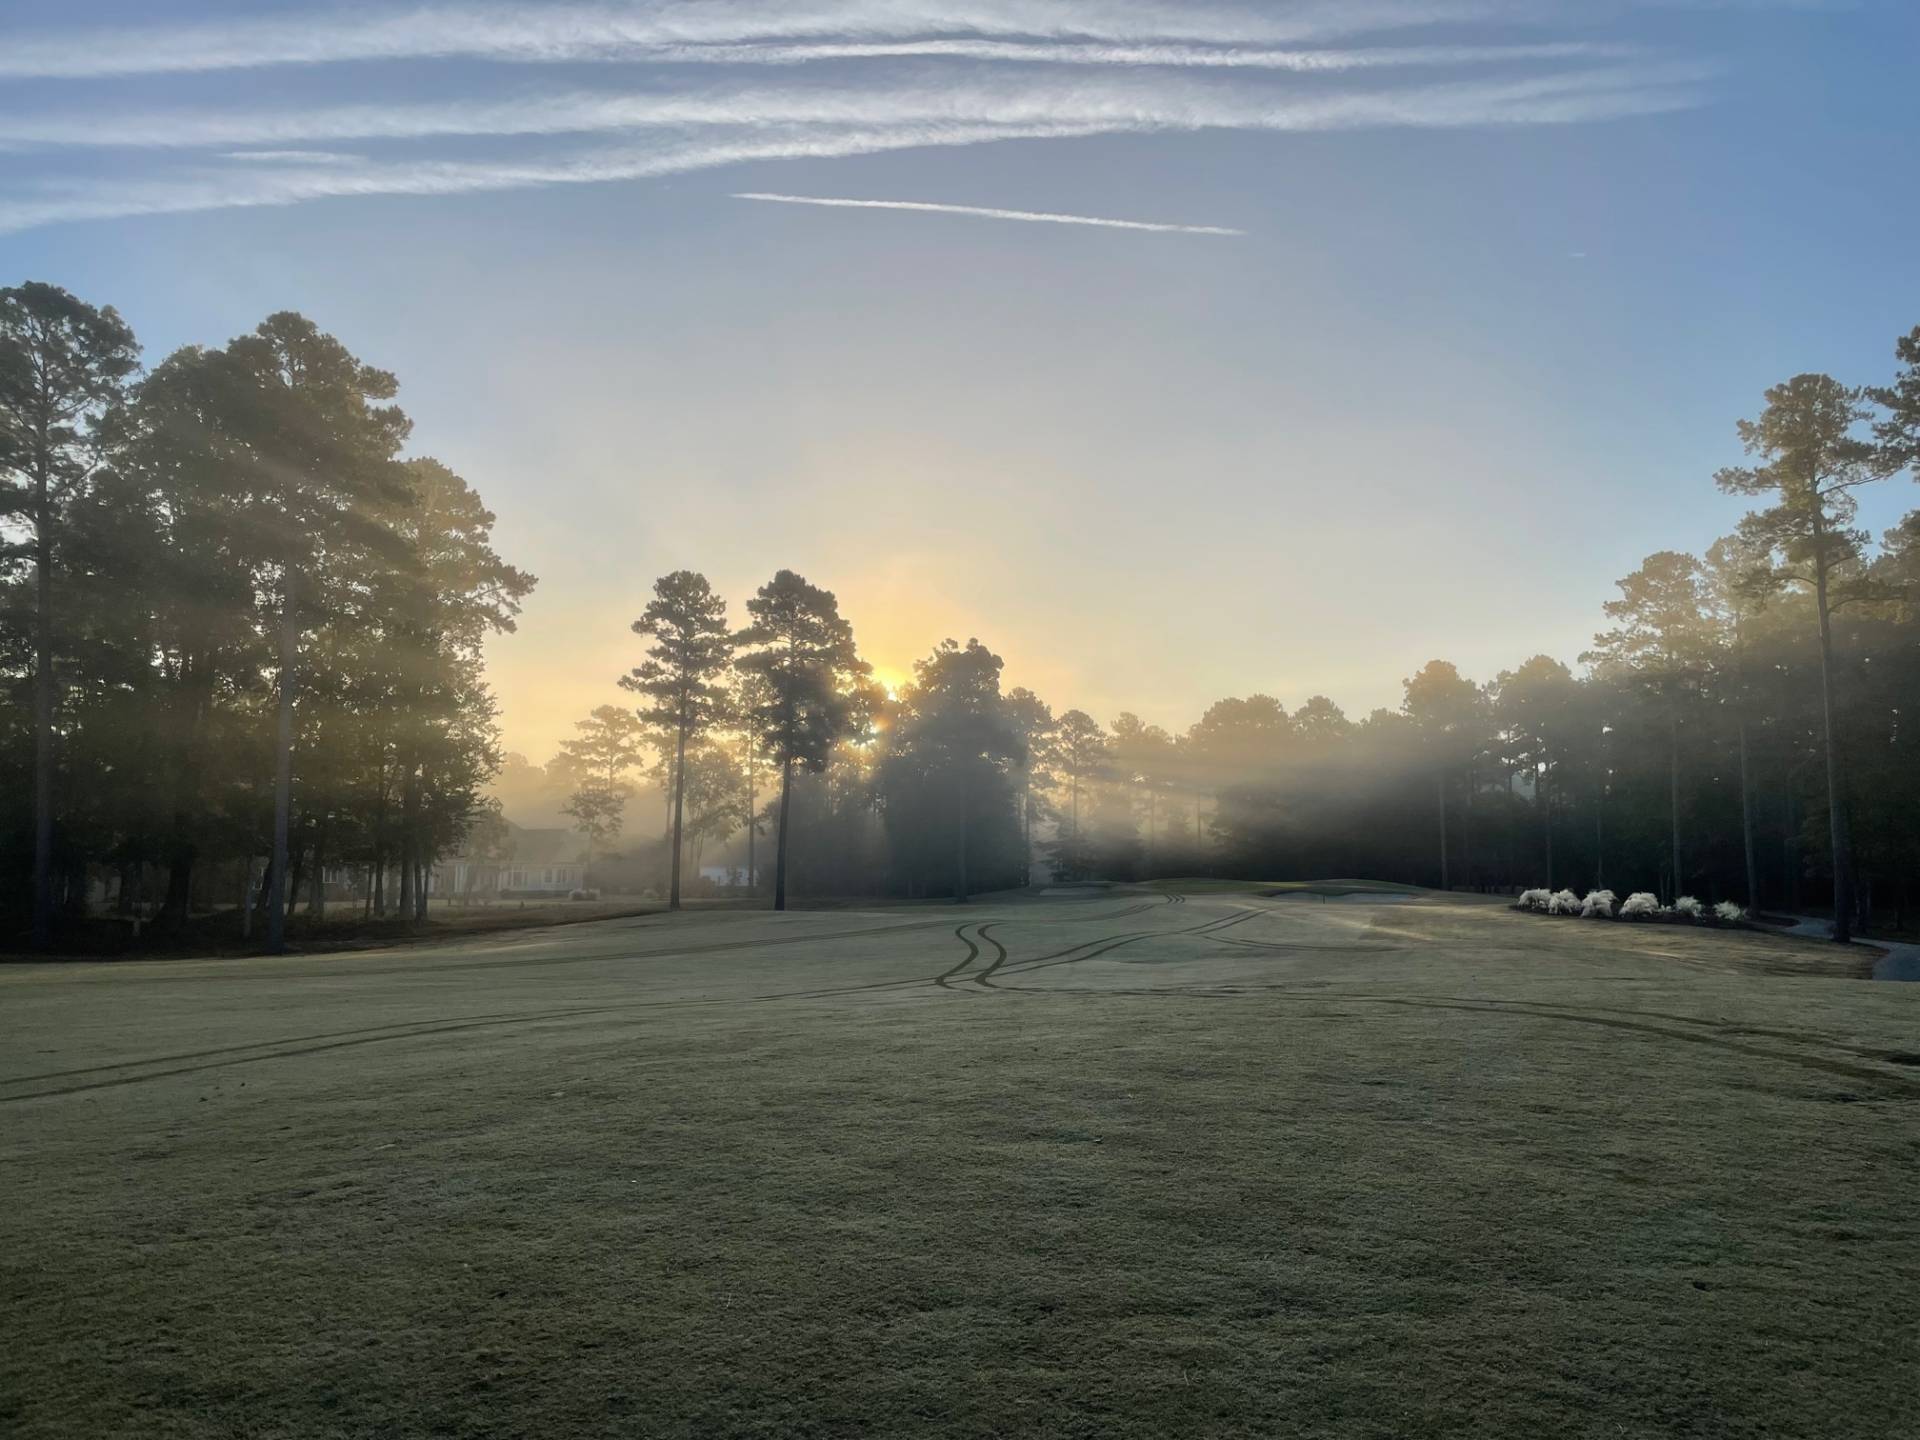
The course winds through a picturesque landscape of dense woodlands, with fairways that invite a smooth but strategic approach. Large, undulating A1/A4 bent grass greens stretch out before golfers, offering opportunities for precise putting and tricky pin placements. The rolling terrain and carefully positioned bunkers add both beauty and difficulty to the experience, ensuring that each hole presents a fresh challenge. Carolina Colours is not just a destination course, it's one that golfers can enjoy day after day, with every round offering something new.
A defining feature of the course is the variety of tee options. The tees themselves are uniquely "L" shaped, offering a fresh perspective and different strategies depending on where players choose to start. With eight marked tee boxes ranging from 4,000 to 7,000+ yards, the course accommodates golfers of all levels, ensuring a rewarding round whether you're a seasoned pro or a casual player.
From the first tee to the final hole, Carolina Colours Golf Club is a harmonious blend of natural beauty and thoughtful design, making it a truly memorable place to play. Whether you’re drawn to its inviting fairways or the thrill of navigating its challenging layout, the course promises a unique golfing experience every time you step onto its pristine greens.
Hole By Hole
1
The first hole at Carolina Colours Golf Club sets the stage for the fair and yet challenging golf course that lies ahead. The bunker on the left side of the fairway is in play on the tee shot. Favor the right side of the fairway for the best angle into the green. The two greenside bunkers penalize miss-hit or under-clubbed approaches.


2
The second hole is a straightforward par three with bunkers short and left.


3
A strategic par five, the third hole requires some creativity and careful planning. Bunkers are in play for the tee shot on the left and right side of the fairway. The second shot offers three options: Big hitters may choose to go for the green and fade the ball around the slight dogleg right. The second option is to lay up over the hazard and leave a short shot into the green. The third option is to lay up short of the hazard, leaving a longer shot into an undulating green. If you decide to lay up on the second shot, stay left. There is a significant drop off on the right side of the fairway toward the hazard.


4
The strategic position off the tee on the fourth hole will leave you between the 150 and 100 yard markers with relatively level lie and a full swing into the hole. Aggressive play off the tee must be accurate and even then may leave you with an awkward second shot into this scenic and strategic par 4.


5
The fifth is an uphill, dogleg left that requires two solidly struck shots to find the putting surface. Aim 15 yards right of the left fairway bunker on the tee shot. The fairway slopes back toward the player and will accept aggressive play off the tee. The uphill approach requires a solidly struck shot to reach a green that is tiered and undulating.


6
The sixth is a long, challenging par 3 featuring a bunker short and right and a sharp drop-off behind the green. Misses short and left give the best opportunity for an up- and-down par.


7
The seventh hole is a straight-away par four. The 150 yard marker lies at the carry point for the bunker on the right. A well struck tee shot will give a better opportunity to attack a green guarded by a bunker short of the green and bunkers on both sides of the green.


8
The eighth hole features a large bunker starting at the 125 yard mark. Favor the middle or the right side of the fairway off the tee, as the left fairway bunker is reachable. Staying right side of middle provides the best angle to the green. Consider using a club off the tee that will leave you short of the bunker and will give you a full swing into the green.


9
The picturesque par five ninth hole offers a risk/reward scenario. On the tee shot, aim at the American flag in front of the clubhouse. If you go for the green on the second shot, keep in mind that shots landing short of the green will feed towards the water hazard on the left. If laying up, aim towards the center bunker on the right side of the green. Shots hit over the green will slope into the hazard behind the green.


10
The tenth hole offers another risk/reward opportunity. Long hitters can attempt to go for the green off the tee with a pot bunker short/middle of the green and significant drop off behind the putting surface. The strategic lay up is behind the 100 yard marker, which takes the bunkers out of play and leaves a full swing into the green. The green is two-tiered with the upper tier on the right and the lower tier on the left side.


11
The winding par five eleventh hole requires the ability to hit opposite shaped shots to reach the green in two. The drive should be aimed just right of the fairway bunker on the left. The tee shot requires a ball flight of left-to-right and the second shot requires a ball flight of right-to-left to get around the tall pine tree on the left side of the hole. If laying up on the second shot, favor the right side of the fairway for the best angle into the green on your third shot. There are well placed sand traps left and right of the green. An accurate approach is a must.


12
The twelfth hole is a straight forward par three with bunkers right and a slope on the left side that feeds into the woods on the left.


13
A long, dogleg left par 4, the thirteenth hole requires distance and accuracy. The tee shot requires maneuvering through bunkers on the left and right side of the fairway. The left side shortens the hole, but also brings the left bunker into play.


14
The beautiful fourteenth is another risk/reward hole. Longer hitters can try to carry the hazard and hit their tee shot on the green. Strategic play offers two options. The first is to hit a short iron to the 130 mark, leaving a full swing into the green. The second option is to hit the tee shot past the bunkers, leaving an angle for the second shot over dry land. The green is surrounded with water short and left and a bunker to the right


15
The fifteenth is the only hole on the course that does not have a bunker. A dogleg right, the ideal tee shot favors the right side of the fairway. Longer hitters should consider the distance to the woods through the fairway for club selection off the tee. The green is undulating. Generally, a shot towards the right side of the green and below the hole is preferable.


16
The short sixteenth hole is a straight forward par three with bunkers guarding the front of the green.


17
The par five seventeenth turns to the right. Longer hitters can aim over the bunkers on the right, cutting distance off the hole but also bringing the woods on the right and pot bunker in the center of the fairway into play. The second shot requires negotiating the tall tree 70 yards short of the green. The lay-up shot should be aimed at the bunker on the far left. Favor the left side of the fairway as the fairway slopes hard from left to right.


18
The tee shot on the eighteenth hole requires distance and accuracy. Carrying the ball to the 150 yard marker takes the bunkers out of play but brings the woods on the right side into play. A bunker on the left side and a slope away from the green on the right side protects the green at the finishing hole at Carolina Colours Golf Club.


By The Numbers


Proper golf attire and soft spikes required.
We also have par 54 Executive Tees set up for a short course experience.